Your website is automatically backed up every 12 hours. Please follow these instructions in case you ever need to restore a backup of your website:
-
Log into your CPanel
-
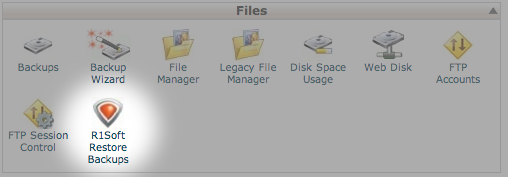
Click on R1Soft Restore Backups under the Files section
-
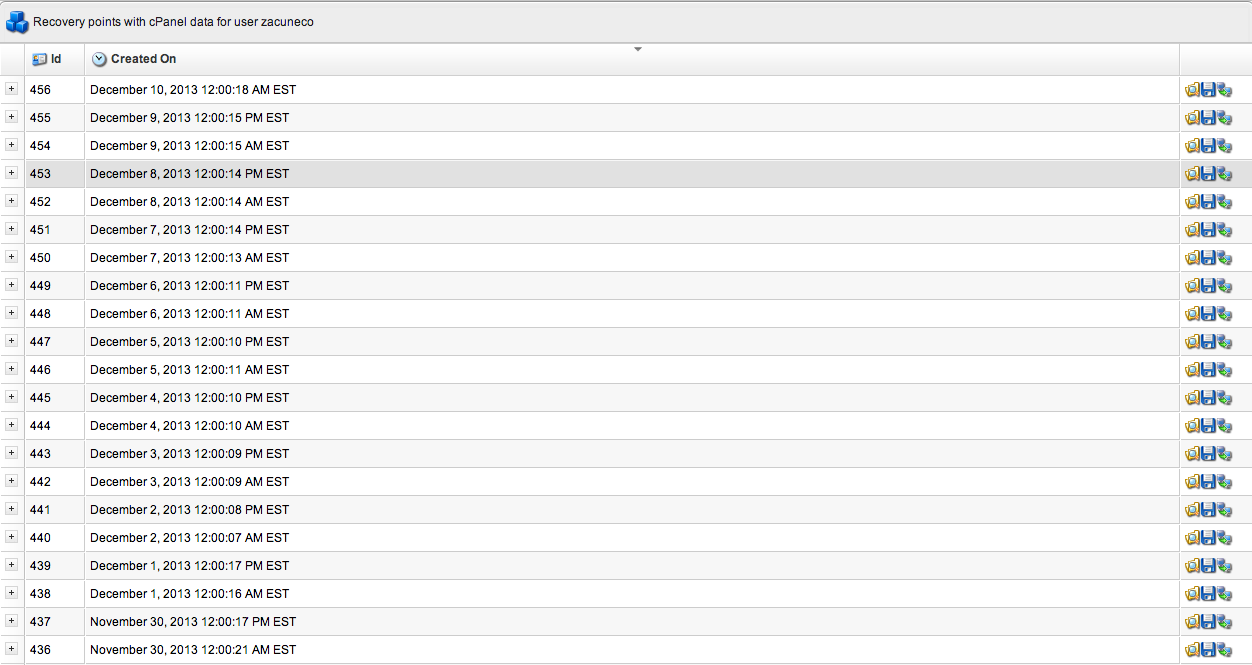
Select the backup you wish to restore
-
If you want to browse the files, click the folder icon on the right side

-
There are then two ways to restore the backup. Option 1 allows you to select the files in the Backup and restore them to the server overwriting any existing files. The second option involves downloading the backed up files locally and then uploading them.
-
Option 1 (Restore):
-
After deciding which backup you wish to restore, click Browse Files

-
Click the checkboxes next to the files you wish to restore. If you want to restore all of your website data from a backup, click the checkbox next to the home folder.

-
Click Restore Selected

-
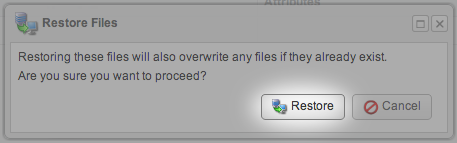
This will overwrite all data on your website so be sure that you have selected the correct backup and that there are no new files on the server that you still need
-
Click Restore
-
After your files have finished transferring, click OK and then check your site by either navigating to it or by opening the cPanel File Manager and ensuring that all of your files are there.
-
-
Option 2 (Downloading Locally)
-
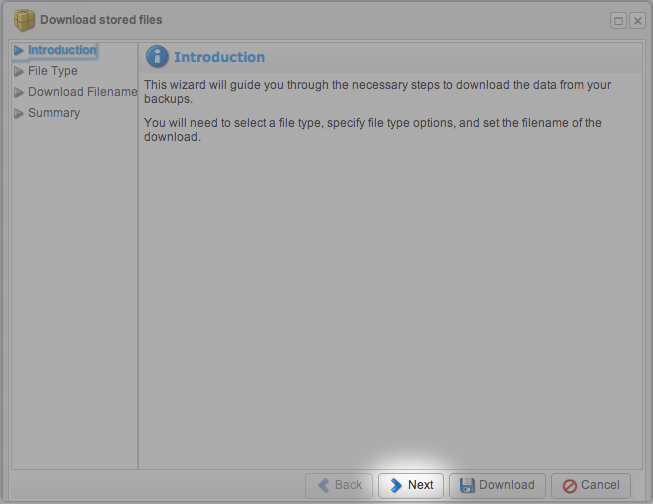
After deciding which backup you wish to restore, click the Download link for that backup
-
Click Next
-
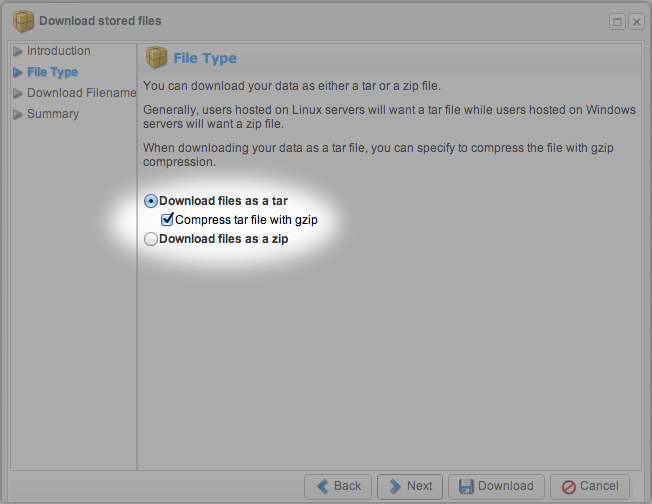
Choose to download the files as a tar and to compress the tar file with gzip
-
Click Next

-
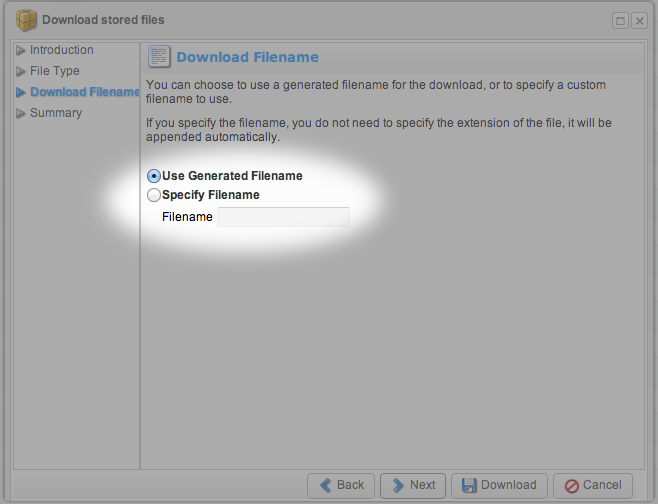
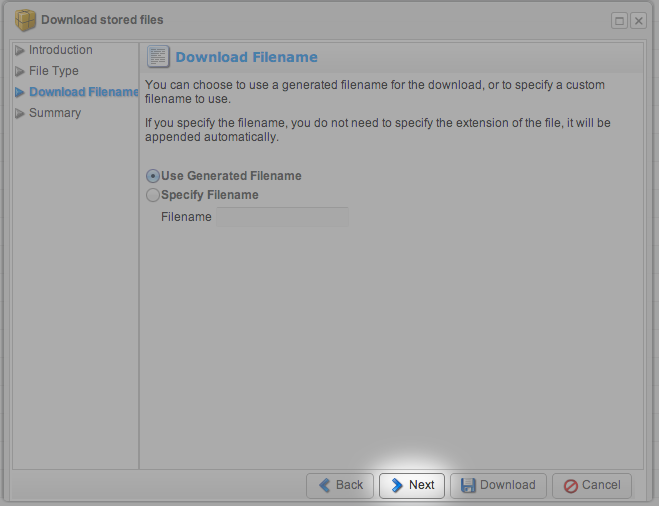
Choose to either use the generated file name or specify your own
-
Click Next
-
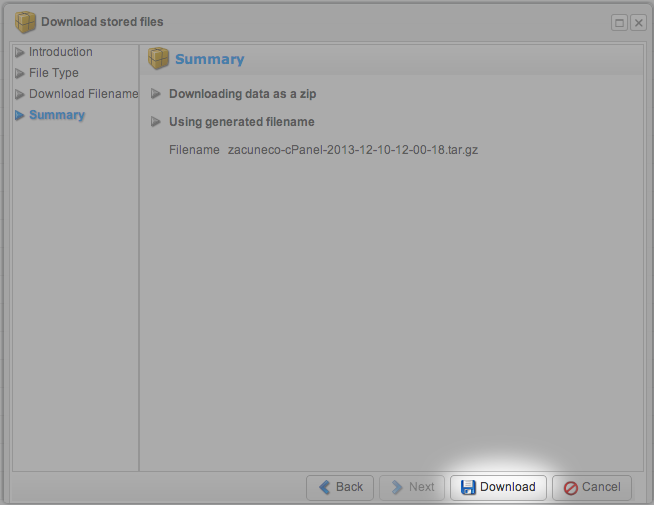
Click Download
-
Once the files are finished downloading, extract the archive
-
Choose which files you wish to upload
-
Upload the files either via an FTP client such as Filezilla or the cPanel File Manager (When uploading via the cPanel File Manager, you will either need to upload the files one at a time or compress it back to a zip, upload the zip and then recompress it.)
-
